MongoDb NoSql
In this guide we are going to do following things:
- Installing 'MongoDB Community Edition'
- Running MongoDB Server instance
- Getting started with MongoDB compass (a GUI to connect to MongoDB database)
- Creating a user database, and working with collections and documents.
- Using Mongo Shell
Installing MongoDB community Edition
Other than community edition, there is a commercial Enterprise Edition. Also there is 'MongoDB Atlas Free Tier Cluster' which is a cloud-hosted service for running
and maintaining MongoDB deployments. Check out this for more info.
Download 'MongoDB community' for Windows from here.
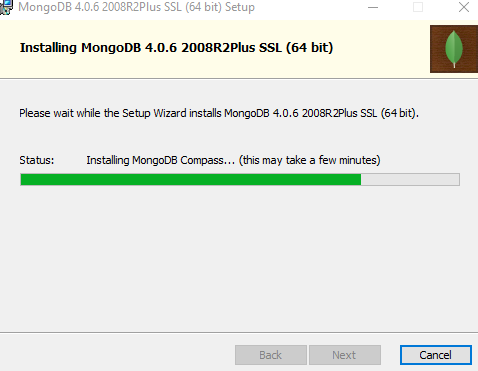
Run the msi installer.
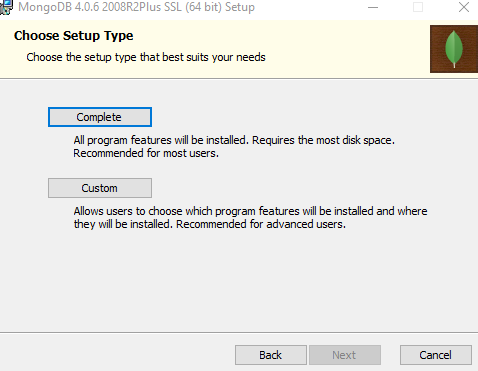
Click on 'Complete' button:
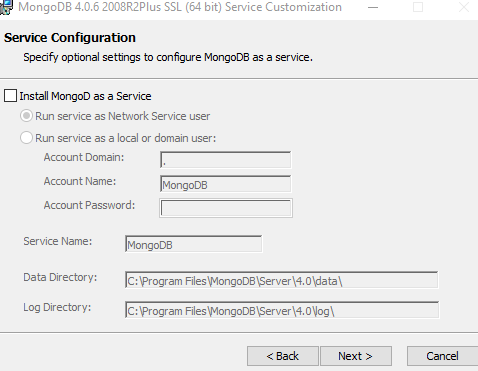
In the following 'Service Configuration' dialog, we are going to uncheck 'Install MongoD as a Service' (checked by default) so that we can start
MongoDB instance ourselves rather than it's running as a service all the time.
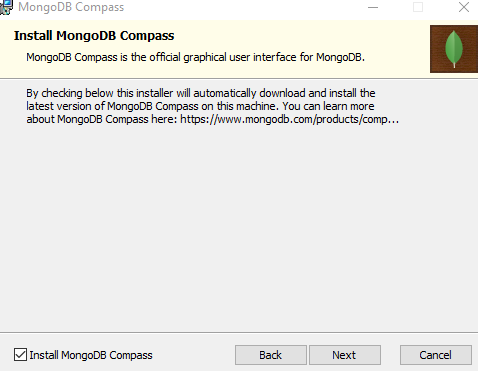
In following dialog check 'Install MongoDB Compass'. MongoDB Compass is the GUI which allows to connect MongoDB server, and to perform various operations.
Creating Data Directory and Running MongoDB Server
Open cmd.exe as an Admin. Create the data directory (say d:\myData). A 'data directory' is the directory where mongoDB server instance will store data.
Run the server using following command:
MONGO_HOME\bin\mongod.exe --dbpath=d:\myData
D:\myData>"C:\Program Files\MongoDB\Server\4.0\bin\mongod.exe" --dbpath="d:\myData"
2019-03-10T23:42:40.174-0500 I CONTROL  [main] Automatically disabling TLS 1.0, to force-enable TLS 1.0 specify --sslDisabledProtocols 'none'
2019-03-10T23:42:40.193-0500 I CONTROL  [initandlisten] MongoDB starting : pid=1220 port=27017 dbpath=d:\myData 64-bit host=jpc
2019-03-10T23:42:40.193-0500 I CONTROL  [initandlisten] targetMinOS: Windows 7/Windows Server 2008 R2
2019-03-10T23:42:40.193-0500 I CONTROL  [initandlisten] db version v4.0.6
2019-03-10T23:42:40.193-0500 I CONTROL  [initandlisten] git version: caa42a1f75a56c7643d0b68d3880444375ec42e3
2019-03-10T23:42:40.194-0500 I CONTROL  [initandlisten] allocator: tcmalloc
2019-03-10T23:42:40.194-0500 I CONTROL  [initandlisten] modules: none
2019-03-10T23:42:40.194-0500 I CONTROL  [initandlisten] build environment:
2019-03-10T23:42:40.194-0500 I CONTROL  [initandlisten]     distmod: 2008plus-ssl
2019-03-10T23:42:40.194-0500 I CONTROL  [initandlisten]     distarch: x86_64
2019-03-10T23:42:40.194-0500 I CONTROL  [initandlisten]     target_arch: x86_64
2019-03-10T23:42:40.194-0500 I CONTROL  [initandlisten] options: { storage: { dbPath: "d:\myData" } }
2019-03-10T23:42:40.200-0500 I STORAGE  [initandlisten] wiredtiger_open config: create,cache_size=7635M,session_max=20000,eviction=(threads_min=4,threads_max=4),config_base=false,statistics=(fast),log=(enabled=true,archive=true,path=journal,compressor=snappy),file_manager=(close_idle_time=100000),statistics_log=(wait=0),verbose=(recovery_progress),
2019-03-10T23:42:40.364-0500 I STORAGE  [initandlisten] WiredTiger message [1552279360:364051][1220:140711477533408], txn-recover: Set global recovery timestamp: 0
2019-03-10T23:42:40.521-0500 I RECOVERY [initandlisten] WiredTiger recoveryTimestamp. Ts: Timestamp(0, 0)
2019-03-10T23:42:40.685-0500 I CONTROL  [initandlisten]
2019-03-10T23:42:40.685-0500 I CONTROL  [initandlisten] ** WARNING: Access control is not enabled for the database.
2019-03-10T23:42:40.685-0500 I CONTROL  [initandlisten] **          Read and write access to data and configuration is unrestricted.
2019-03-10T23:42:40.686-0500 I CONTROL  [initandlisten]
2019-03-10T23:42:40.686-0500 I CONTROL  [initandlisten] ** WARNING: This server is bound to localhost.
2019-03-10T23:42:40.686-0500 I CONTROL  [initandlisten] **          Remote systems will be unable to connect to this server.
2019-03-10T23:42:40.686-0500 I CONTROL  [initandlisten] **          Start the server with --bind_ip  to specify which IP
2019-03-10T23:42:40.687-0500 I CONTROL  [initandlisten] **          addresses it should serve responses from, or with --bind_ip_all to
2019-03-10T23:42:40.687-0500 I CONTROL  [initandlisten] **          bind to all interfaces. If this behavior is desired, start the
2019-03-10T23:42:40.688-0500 I CONTROL  [initandlisten] **          server with --bind_ip 127.0.0.1 to disable this warning.
2019-03-10T23:42:40.689-0500 I CONTROL  [initandlisten]
2019-03-10T23:42:40.697-0500 I STORAGE  [initandlisten] createCollection: admin.system.version with provided UUID: 8ad8294e-3bd6-478c-9ef2-f2db3a36e6a7
2019-03-10T23:42:40.787-0500 I COMMAND  [initandlisten] setting featureCompatibilityVersion to 4.0
2019-03-10T23:42:40.799-0500 I STORAGE  [initandlisten] createCollection: local.startup_log with generated UUID: 0eea0452-513f-4157-909f-0a73f83cda49
2019-03-10T23:42:41.080-0500 I FTDC     [initandlisten] Initializing full-time diagnostic data capture with directory 'd:/myData/diagnostic.data'
2019-03-10T23:42:41.086-0500 I NETWORK  [initandlisten] waiting for connections on port 27017
2019-03-10T23:42:41.089-0500 I STORAGE  [LogicalSessionCacheRefresh] createCollection: config.system.sessions with generated UUID: f41f78be-ac7a-4fe5-bd53-b1da89d5acbe
2019-03-10T23:42:41.202-0500 I INDEX    [LogicalSessionCacheRefresh] build index on: config.system.sessions properties: { v: 2, key: { lastUse: 1 }, name: "lsidTTLIndex", ns: "config.system.sessions", expireAfterSeconds: 1800 }
2019-03-10T23:42:41.202-0500 I INDEX    [LogicalSessionCacheRefresh]     building index using bulk method; build may temporarily use up to 500 megabytes of RAM
2019-03-10T23:42:41.223-0500 I INDEX    [LogicalSessionCacheRefresh] build index done.  scanned 0 total records. 0 secs
2019-03-10T23:42:41.226-0500 I COMMAND  [LogicalSessionCacheRefresh] command config.$cmd command: createIndexes { createIndexes: "system.sessions", indexes: [ { key: { lastUse: 1 }, name: "lsidTTLIndex", expireAfterSeconds: 1800 } ], $db: "config" } numYields:0 reslen:114 locks:{ Global: { acquireCount: { r: 2, w: 2 } }, Database: { acquireCount: { w: 2, W: 1 } }, Collection: { acquireCount: { w: 2 } } } protocol:op_msg 137ms
Creating and Working with Database via MongoDB Compass
Start MongoDB Compass: press shortcut key: Win+S and then type 'mongodb compass'
To connect with MongoDB server, click on New Connection.
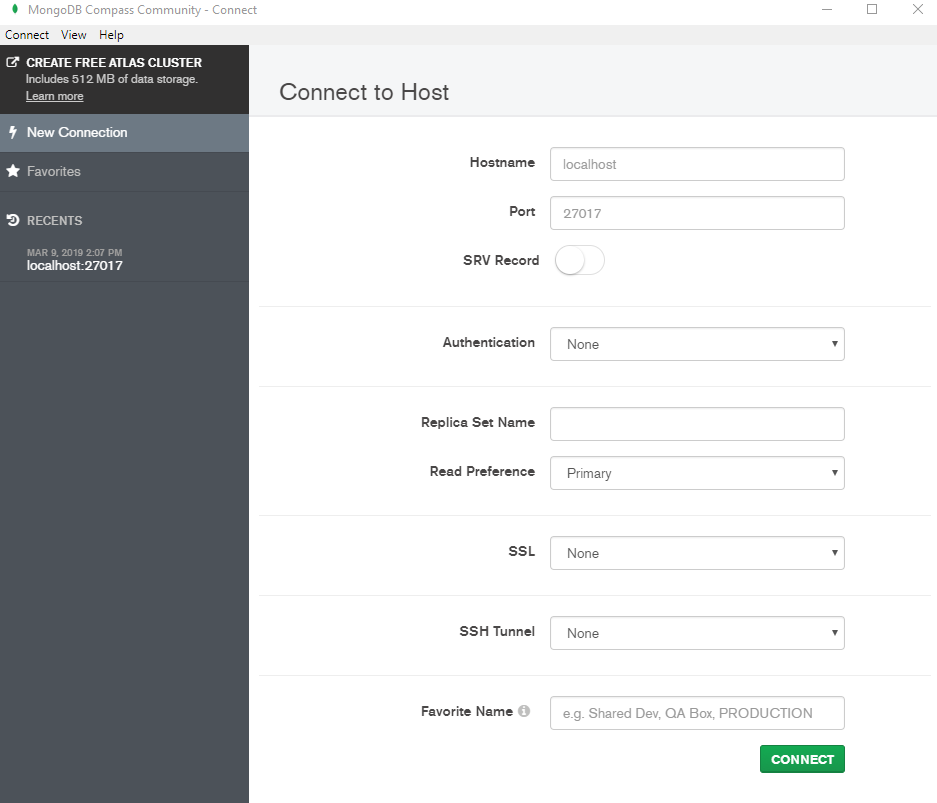
Hostname and port should already be populated. Clicking on 'Connect' button:
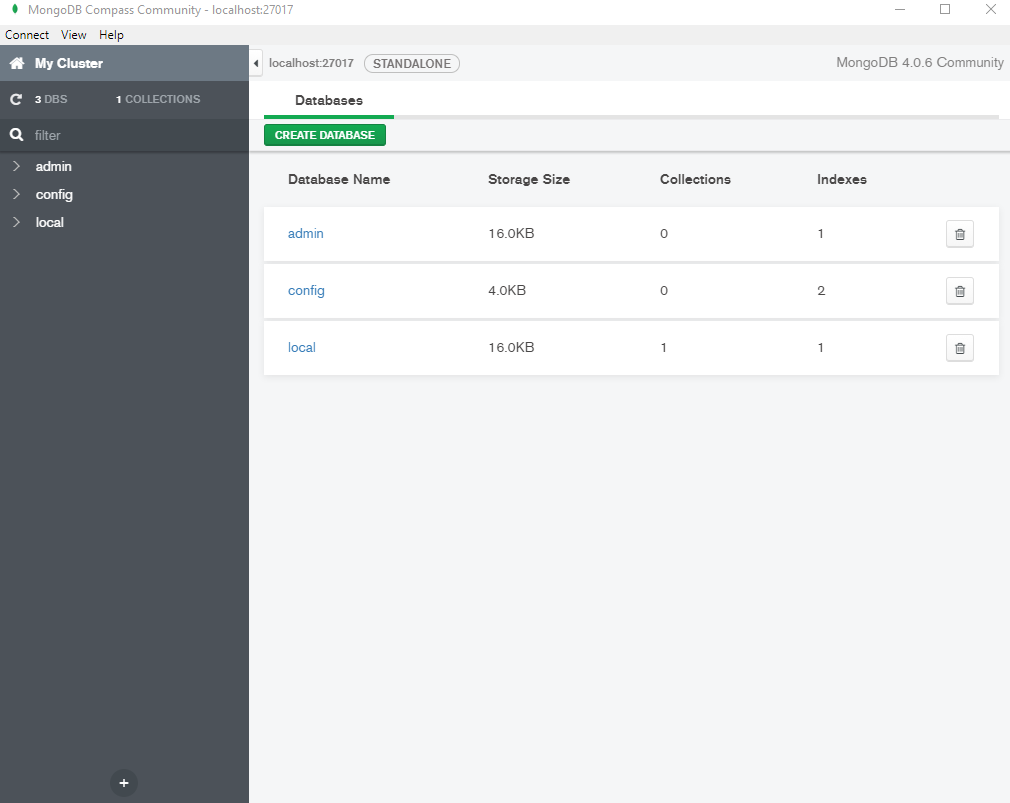
As seen above, three databases 'admin', 'config' and 'local' are created by default. The 'admin' and 'config' databases are used to populate various settings of the server and the user databases.
The 'local' database is used in the replication process, and other instance-specific data.
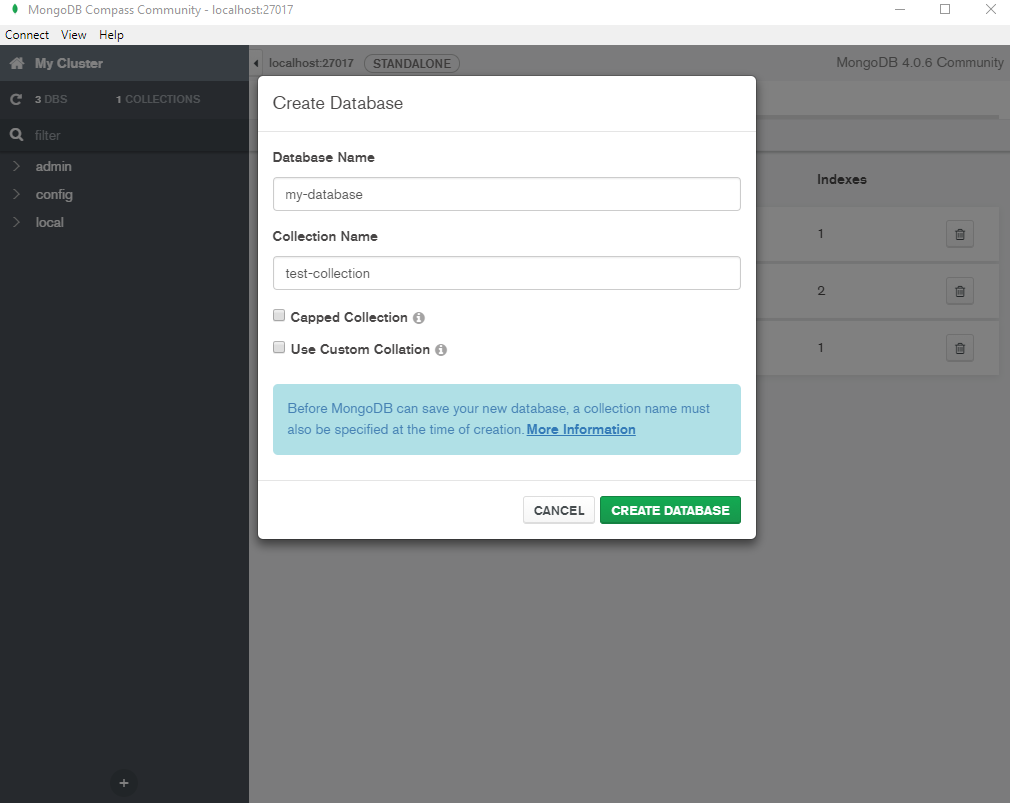
Creating User Database
Click on 'CREATE DATABASE' and enter database name and first collection name (In MongoDB, a collection is the equivalent of an RDBMS table):
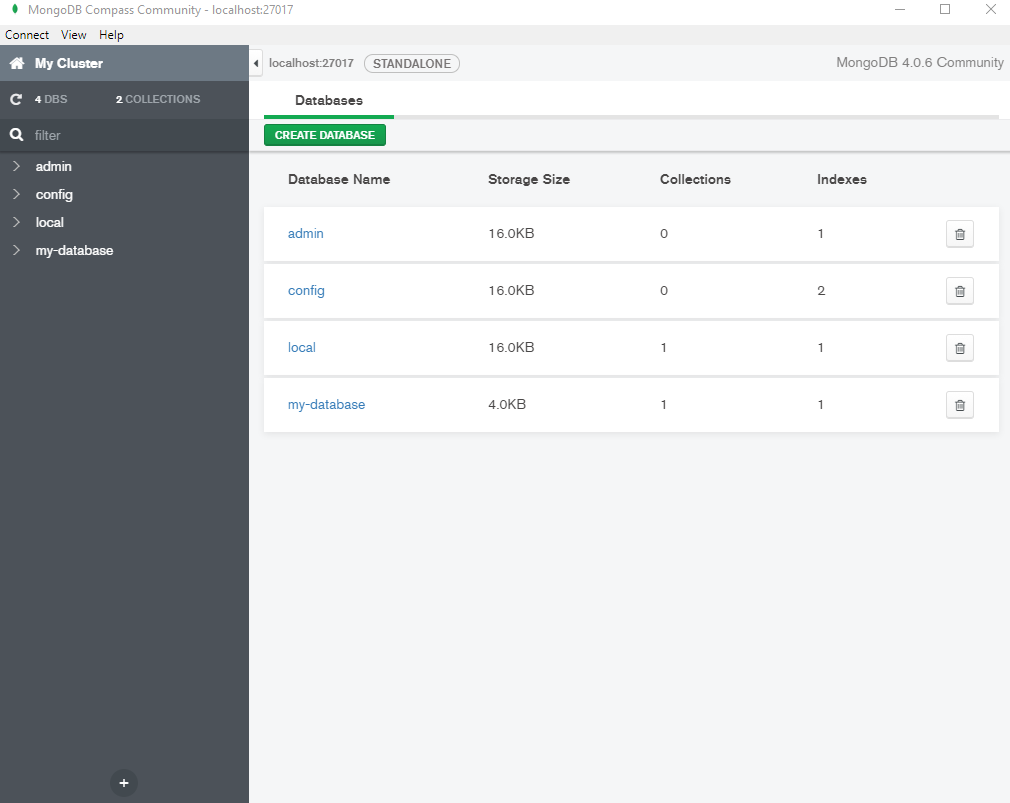
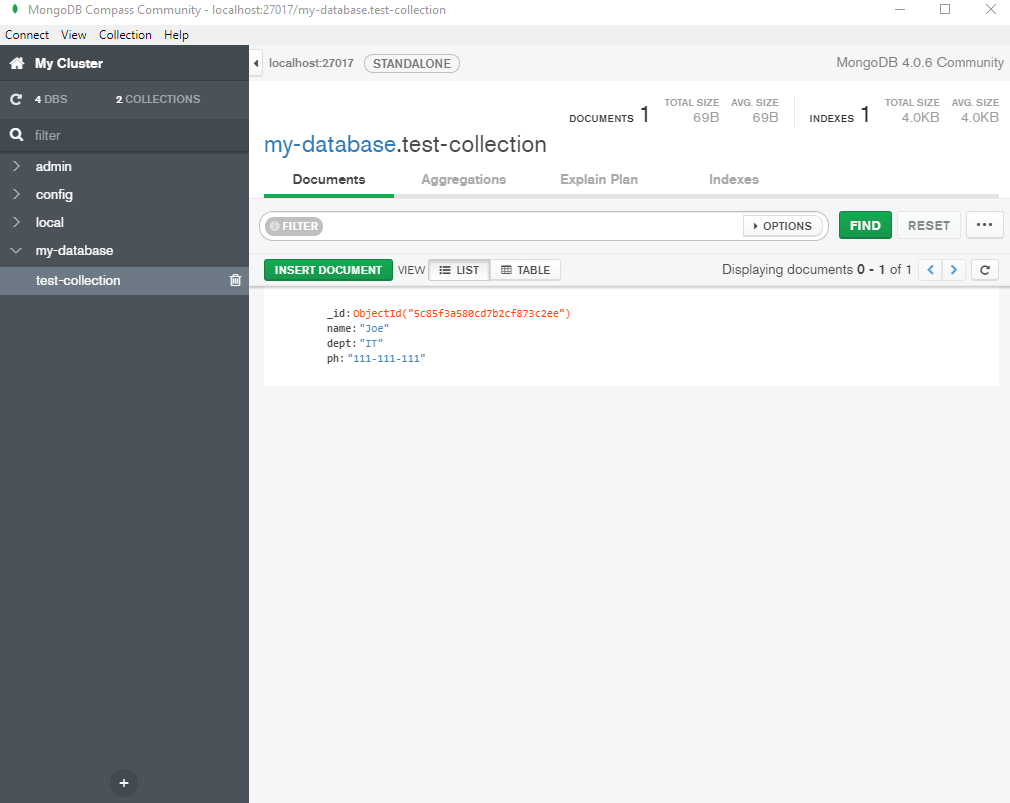
Clicking on 'CREATE DTABASE' will create a new databases as shown:
Creating Document
A 'Document' is a record in a MongoDB collection. It is the basic unit of data in MongoDB.
Documents are written in BSON (Binary JSON) format. BSON is similar to JSON but has a more type-rich format.
To create a document click on 'my-database' (above screenshot).
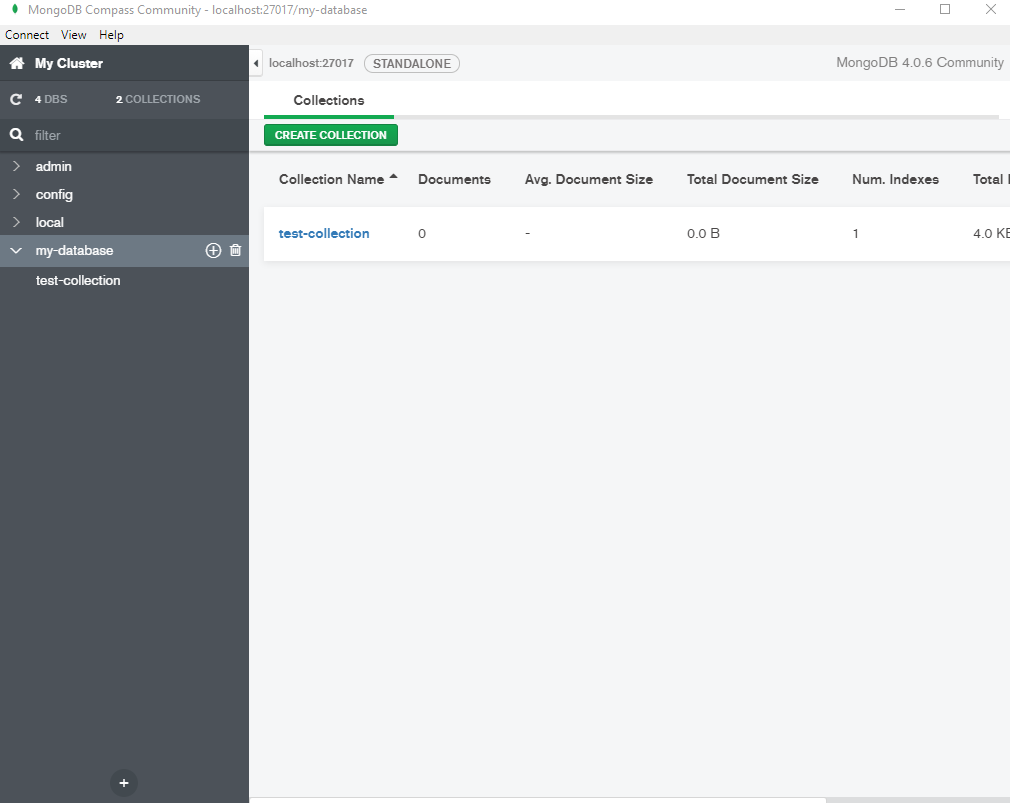
Click on 'test-collection' (above screenshot):

Inserting Document
Click on 'INSRT DOCUMENT'
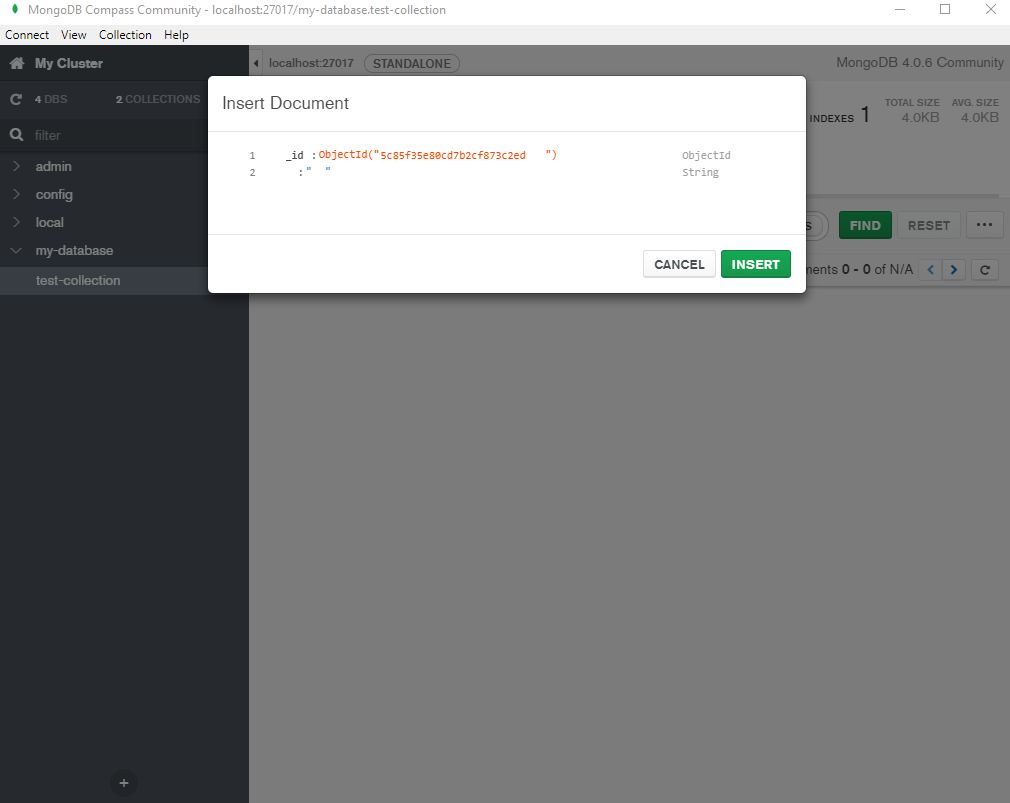
Complete the document as shown (use 'tab' to navigate and 'enter' key to create new field/value):
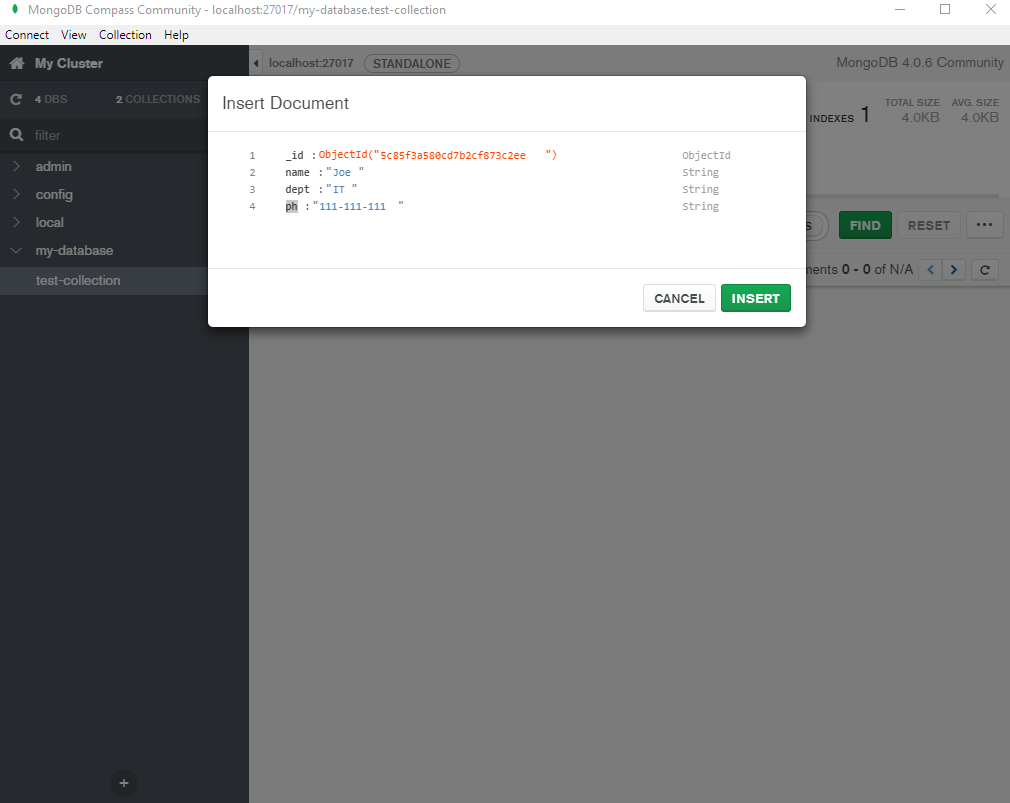
Click on 'INSERT'
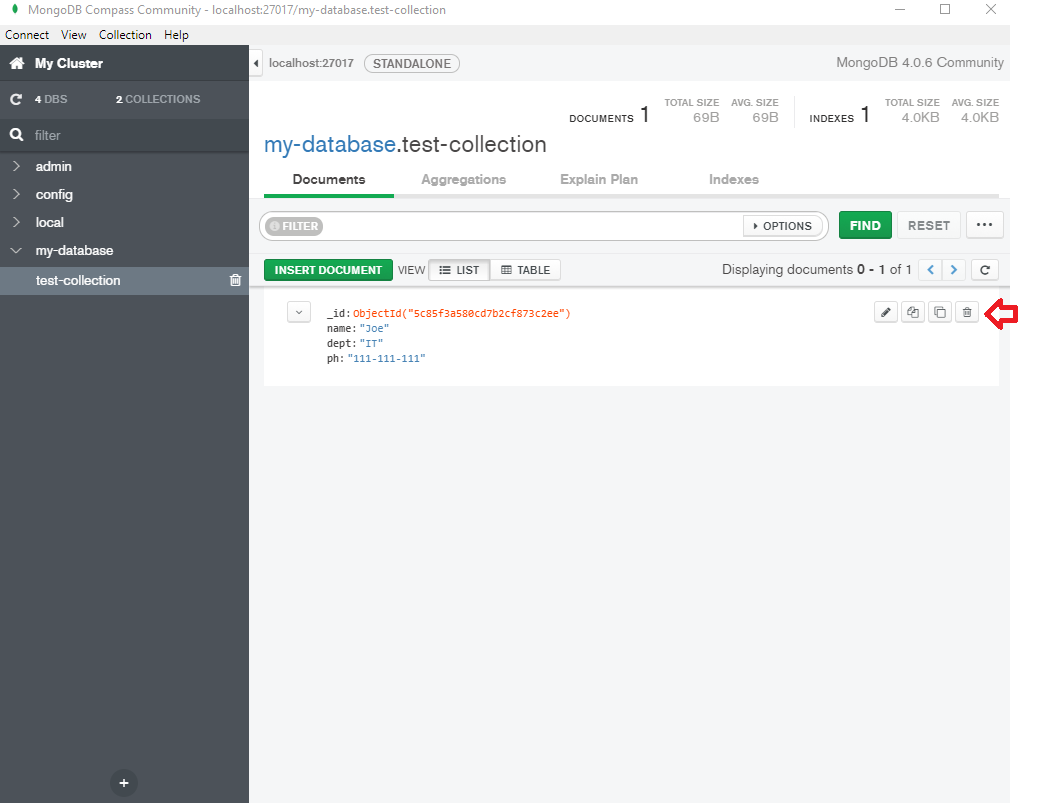
Other operations
Mouse hovering over documents will bring up buttons to perform edit/copy/clone/delete operations:
Check out more MongoDB Compass features here.
Mongo Shell
Mongo Shell is a JavaScript based command line interface to connect to MongoDB and to perform various operations.
Mongo shell comes with MongoDB installation.
Connecting MongoDB
To connect Mongo Shell to a Mongo Server use following command:
MONGO_HOME\mongo.exe mongodb://host:port
For localhost and port (localhost:27017) we can omit the url part.
Let's connect our local Mongo Server instance via shell:
C:\Program Files\MongoDB\Server\4.0\bin>mongo.exe
MongoDB shell version v4.0.6
connecting to: mongodb://127.0.0.1:27017/?gssapiServiceName=mongodb
Implicit session: session { "id" : UUID("697f4360-a2aa-4f52-9a6c-7c845046a226") }
MongoDB server version: 4.0.6
Server has startup warnings:
2019-03-11T12:43:30.705-0500 I CONTROL  [initandlisten]
2019-03-11T12:43:30.705-0500 I CONTROL  [initandlisten] ** WARNING: Access control is not enabled for the database.
2019-03-11T12:43:30.707-0500 I CONTROL  [initandlisten] **          Read and write access to data and configuration is unrestricted.
2019-03-11T12:43:30.707-0500 I CONTROL  [initandlisten]
2019-03-11T12:43:30.708-0500 I CONTROL  [initandlisten] ** WARNING: This server is bound to localhost.
2019-03-11T12:43:30.709-0500 I CONTROL  [initandlisten] **          Remote systems will be unable to connect to this server.
2019-03-11T12:43:30.709-0500 I CONTROL  [initandlisten] **          Start the server with --bind_ip  to specify which IP
2019-03-11T12:43:30.710-0500 I CONTROL  [initandlisten] **          addresses it should serve responses from, or with --bind_ip_all to
2019-03-11T12:43:30.710-0500 I CONTROL  [initandlisten] **          bind to all interfaces. If this behavior is desired, start the
2019-03-11T12:43:30.711-0500 I CONTROL  [initandlisten] **          server with --bind_ip 127.0.0.1 to disable this warning.
2019-03-11T12:43:30.711-0500 I CONTROL  [initandlisten]
---
Enable MongoDB's free cloud-based monitoring service, which will then receive and display
metrics about your deployment (disk utilization, CPU, operation statistics, etc).

The monitoring data will be available on a MongoDB website with a unique URL accessible to you
and anyone you share the URL with. MongoDB may use this information to make product
improvements and to suggest MongoDB products and deployment options to you.

To enable free monitoring, run the following command: db.enableFreeMonitoring()
To permanently disable this reminder, run the following command: db.disableFreeMonitoring()
---

>
List of databases
To list available databases use show dbs command:
> show dbs
admin        0.000GB
config       0.000GB
local        0.000GB
my-database  0.000GB
>
Switching database
The command use databaseName can be used to switch to a database:
> use my-database
switched to db my-database
>
Querying a collection
To find all documents in a collection use db.getCollection("collectionName").find()
> db.getCollection("test-collection").find()
{ "_id" : ObjectId("5c85ff9aef4200489b0d8fc2"), "name" : "Joe", "dept" : "IT", "phone" : "111-111-111" }
>
Inserting a document
Use db.collection.insertOne(theDocument) command to insert a new document. For example
> db.getCollection("test-collection").insertOne({name:"Tina", dept: "Admin", phone:"222-222-222"})
{
        "acknowledged" : true,
        "insertedId" : ObjectId("5c86a3ae6bbcb1dcee194565")
}
>
Other operations
Check out this for more commands of Mongo Shell.
Connecting in Java
Check out connecting MongoDB in Java tutorial.
|
