Intellij
This tutorial shows how to use database browser in Intellij Community Edition.
Installing Database Navigator plugin
In this example we are using Intellij IDEA 2019.2.
Intellij community edition doesn't come with a database browser, but we can install Database Navigator plugin.
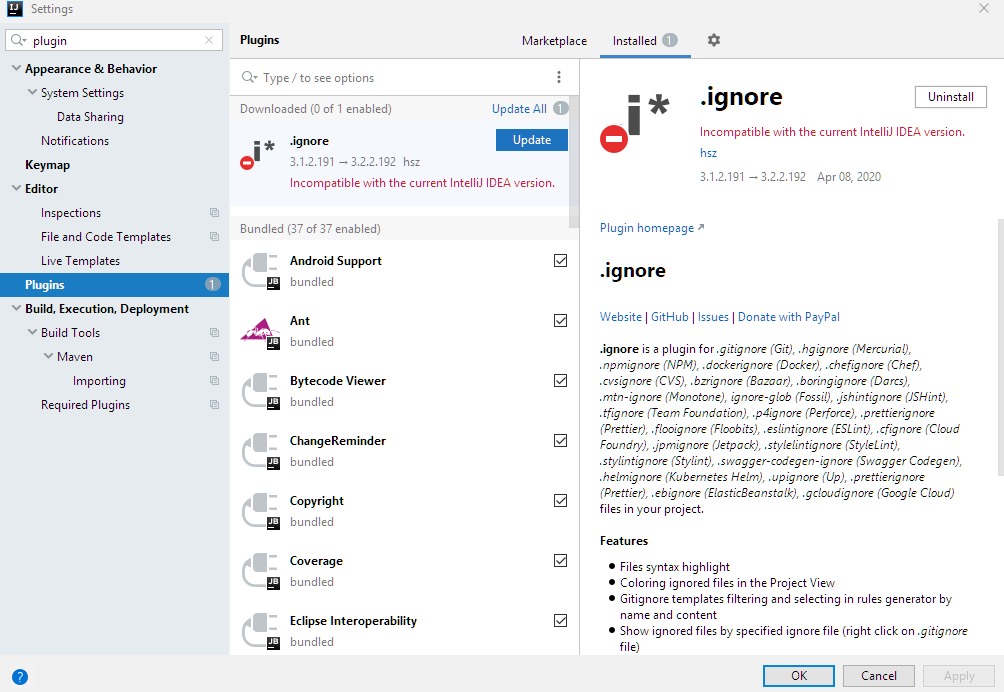
Open Setting dialogs and search for plugin:
Select MarketPlace tab and type database:
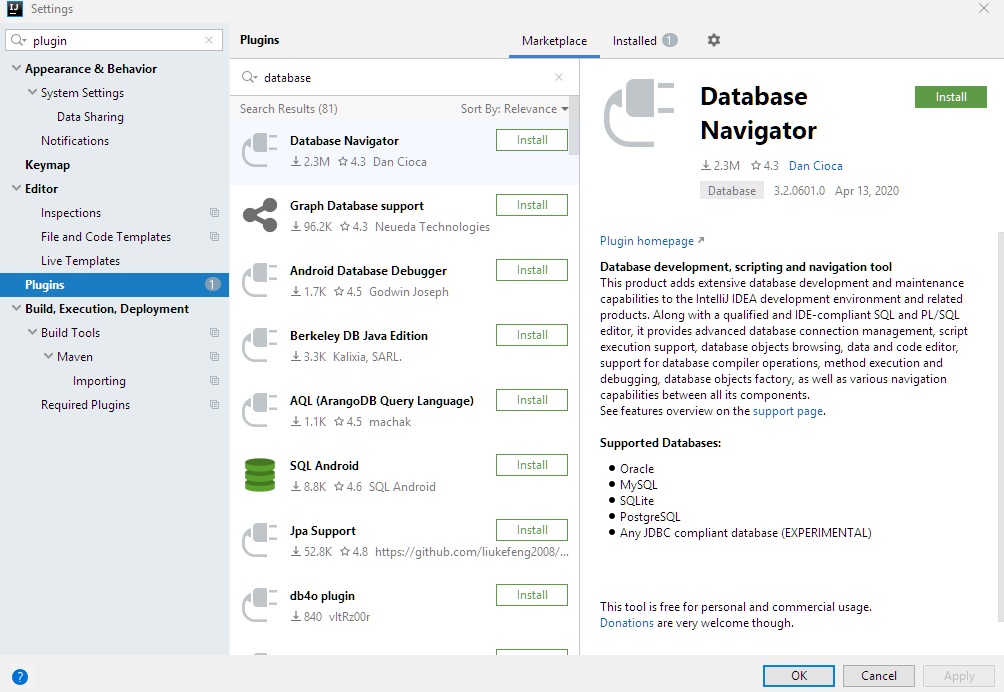
In the right panel (which shows Database Navigator) click on install and then click on restart IDE.
Using Database Navigator
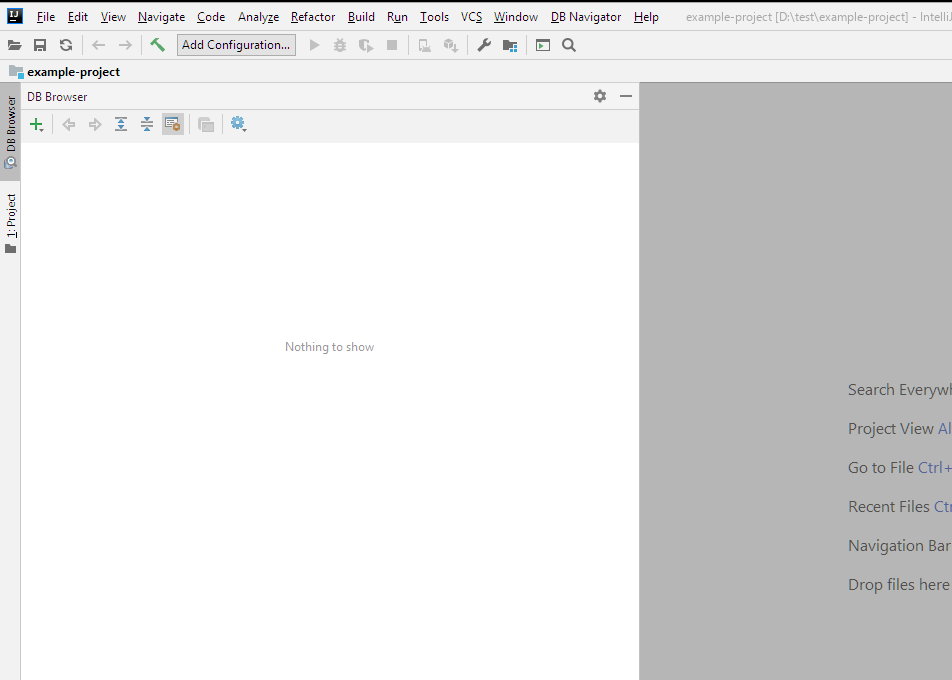
After IDE has restarted, click on View > Tools Windows > DB Browser:
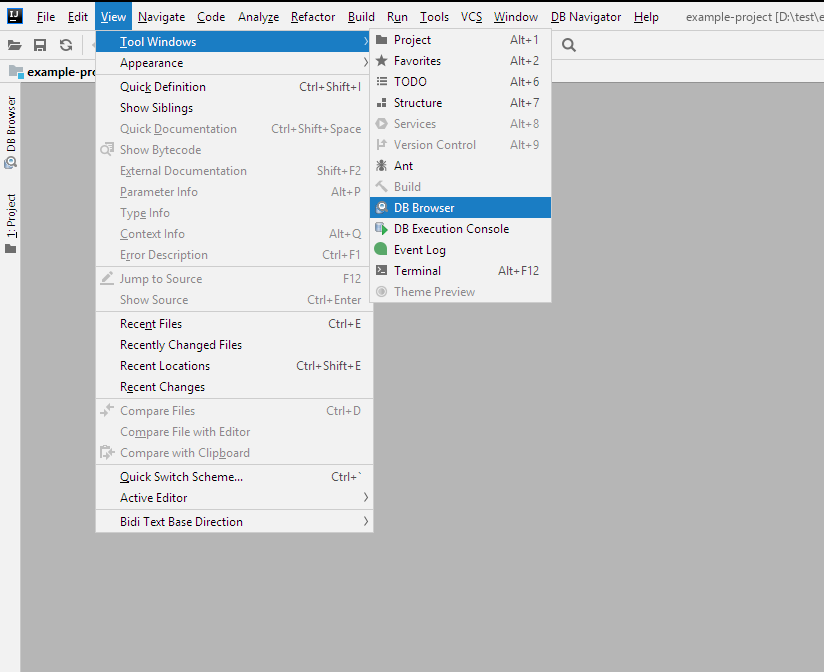
Now click on DB Browser tab on the vertical right menu.
Adding example database (MySQL)
Install MySQL server as described here. Also create an example schema (my_schema) and a table (Person) as described in the same tutorial.
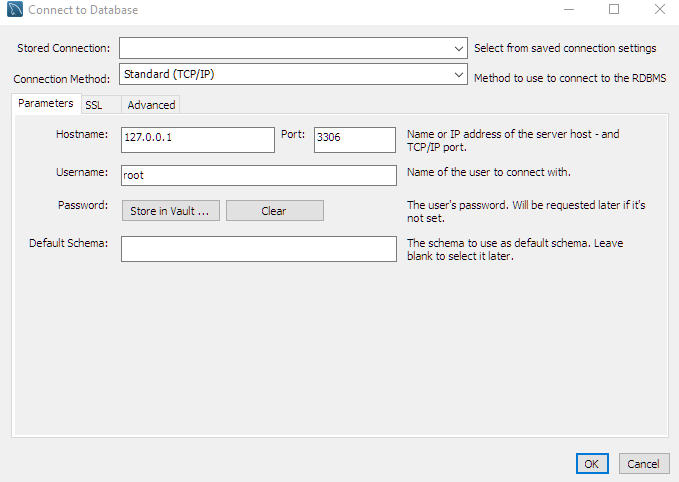
In MySQL workbench check the connection properties which we will use in Intellij to connect the database.
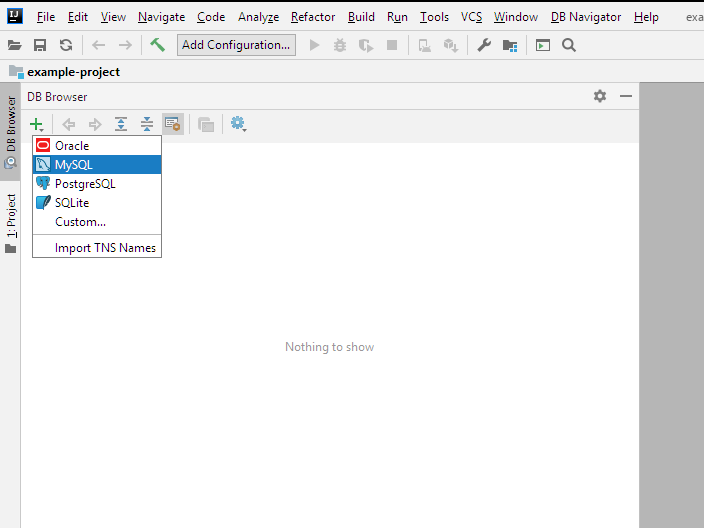
In Intellij Click on + button and select MySQL:
Fill the configuration as shown:
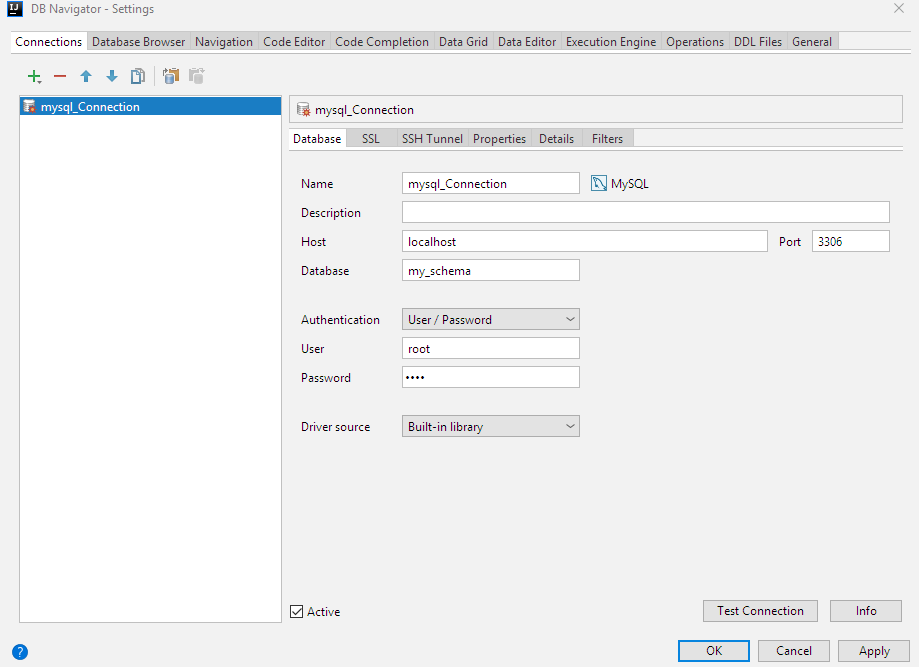
Click on Test Connection bottom:
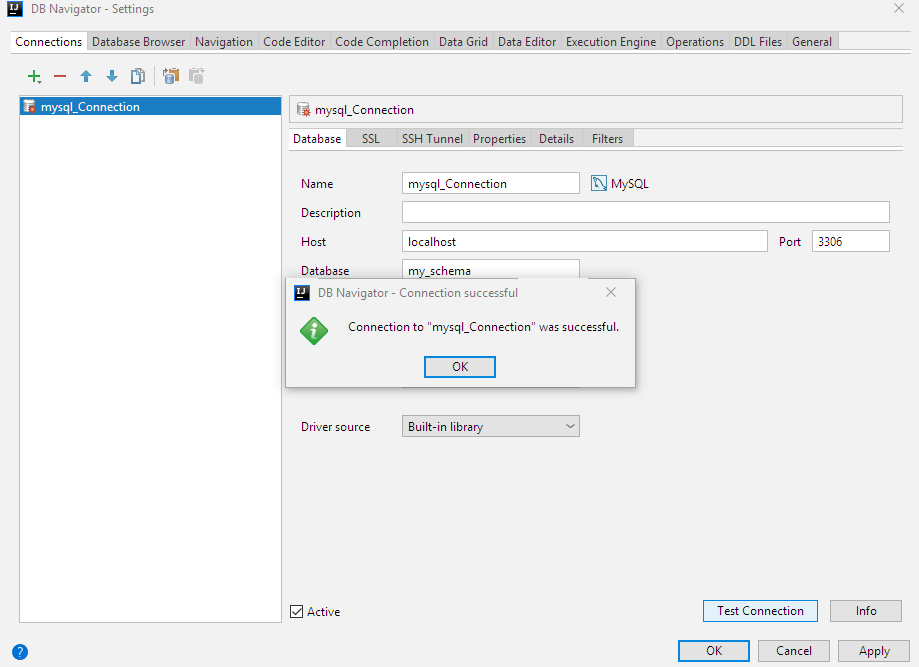
Click OK.
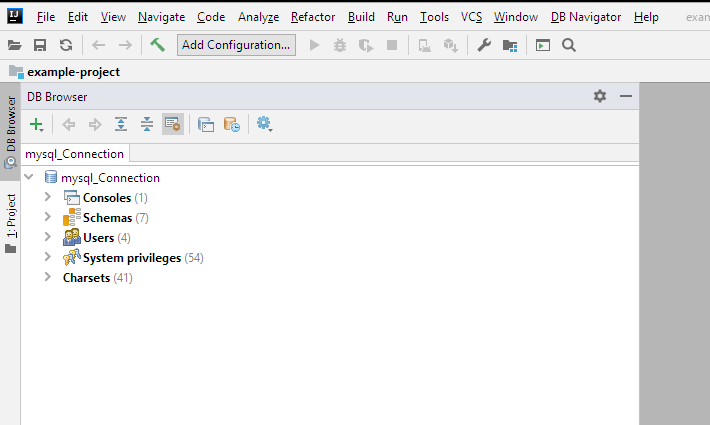
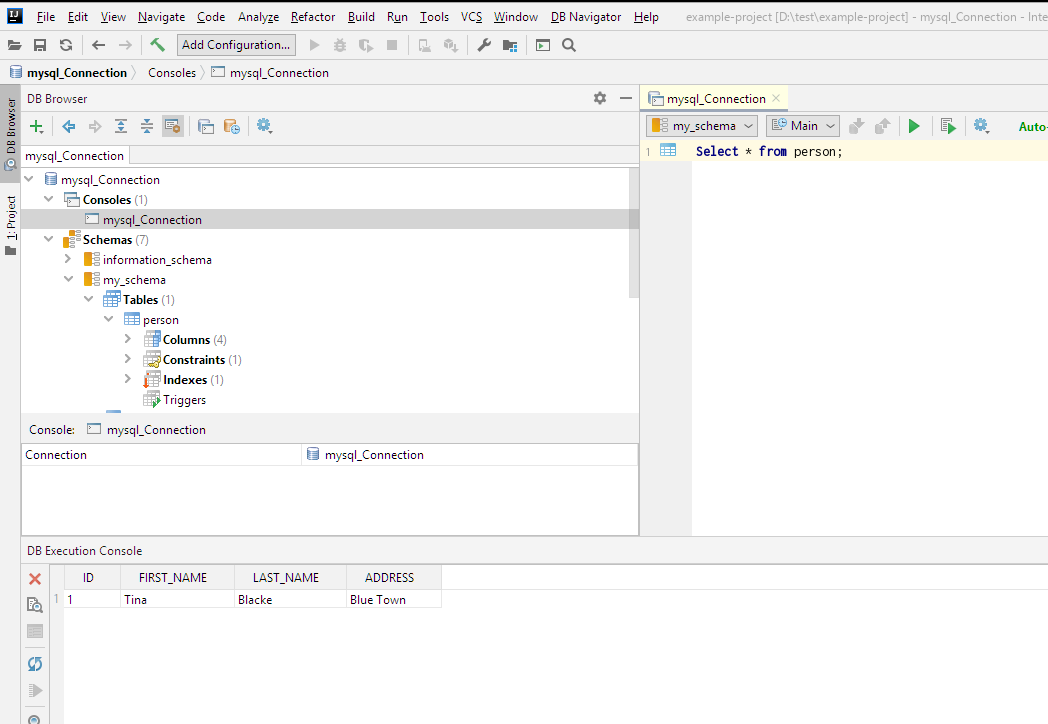
Now we can see the database details on the left panel:
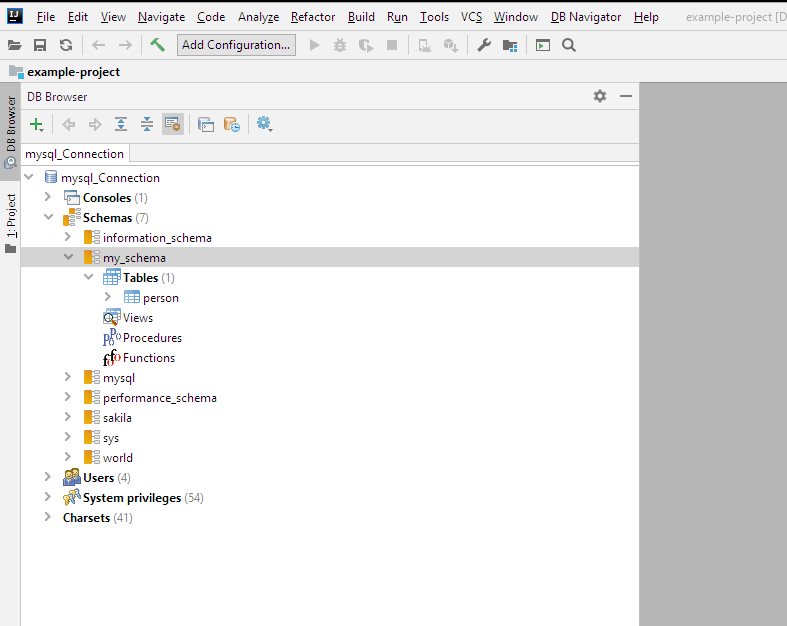
Expand the Schema node, we will see my_schema and the table 'Person' which we created in MySql workbench.
Performing basic database operations
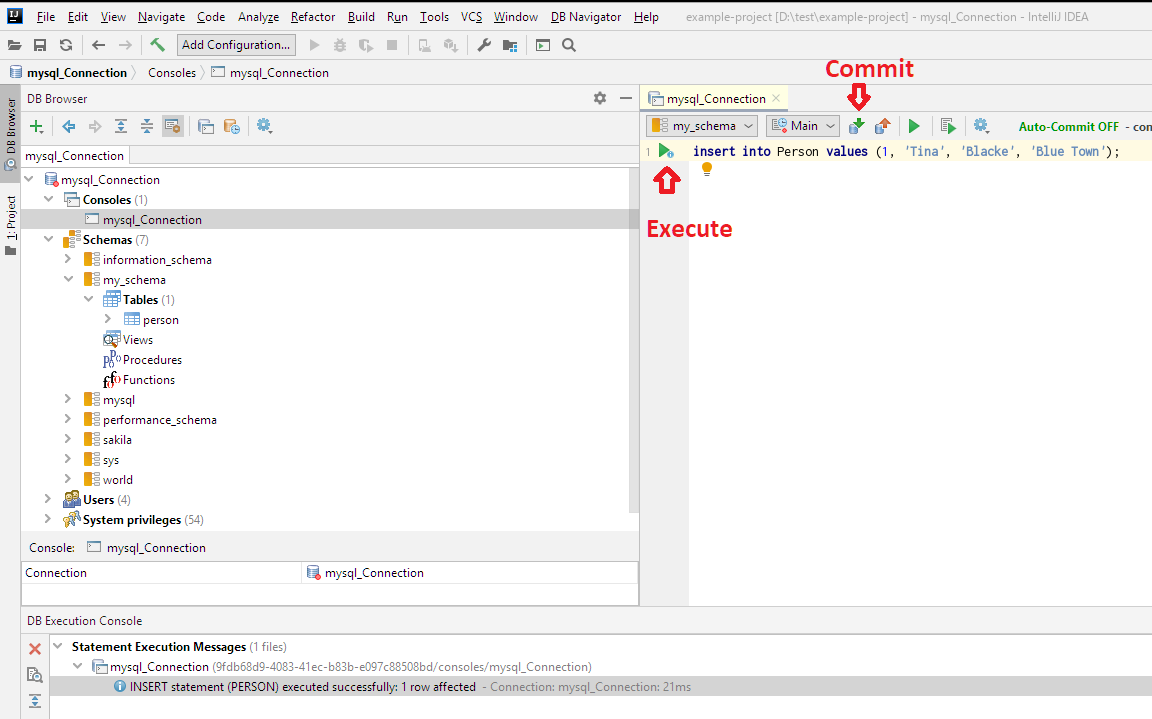
Let's insert some data in Person table.
Open database Console and execute following statement:
Let execute select query on Person table:
|
